


Hello there! We put together a quick little how to on trimming and fitting our Rize Japan Canards. The canards we installed on our S14 were the largest #8 versions and we'll run through the steps.
Step 1: Trace out the canards on cardboard and cut out templates. This will assist in the fitting and trimming process without cutting into the canards. If you're doing a double stack, cut and trim until they are fit the way you'd like them.


Step 2: Lightly mark the installed path on the bumper (you may also use tape on the bumper before marking). This will let you know where to reinstall the canards on the next step.

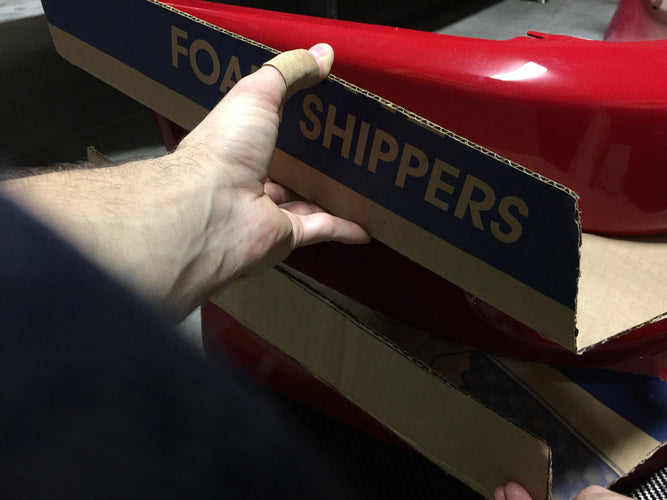
Step 3: Trace your cardboard template onto the canard and make a cut using a jig saw or carefully dremel it. In this photo below you can see the trimmed pieces laid over another pair of uncut canards.

Step 4: Measure and drill holes for your L-brackets of choice. Measure distance from the inner edge and spacing so that it is even. You will also want to note the distance from the edge so that you can replicate the other side.

Step 5: Mount the brackets to the canards, then hold the canards up to the bumper. Mark through the holes with a sharpie, and then remove the canards, set aside. Drill holes though the bumper and mount your hardware using large washers behind the bumper. This will add stability to the canards.

Step 6: Boom! you are done.
